
[vc_row][vc_column][vc_wp_text]
[xyz-ips snippet=”metadatatitle”]
[/vc_wp_text][vc_empty_space][/vc_column][/vc_row][vc_row][vc_column width=”2/3″][vc_column_text]
What is Shodan?
Shodan is a search engine that finds devices and device types that exist on the Internet. While Google and other search engines only index the Internet, Shodan indexes almost everything – webcams, water treatment facilities, yachts, medical devices, traffic lights, wind turbines, license plate readers, smart TVs, refrigerators, and more.
It works by scanning the entire Internet and analyzing the “banners” returned by various tools. Using this information, Shodan can see, for example, what web server (and version) is running on a particular IP address or what other services are running on it. It should be noted, however, that these banners can be falsified in such a way that they show something other than reality.
[/vc_column_text][vc_empty_space][vc_column_text]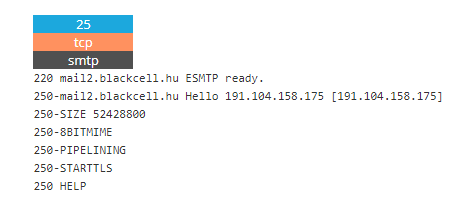 [/vc_column_text][vc_column_text]
Shodan is of great importance in security research around the “Internet of Things,” as billions of devices with special vulnerabilities will soon appear on the Internet. These can be improved by identifying them based on their banners.
[/vc_column_text][vc_empty_space][vc_column_text]
Use basic searches
There is a search box on the home page that works like any other search engine. For example, for the search below, I searched for “blackcell.hu”.
[/vc_column_text][vc_empty_space][vc_column_text]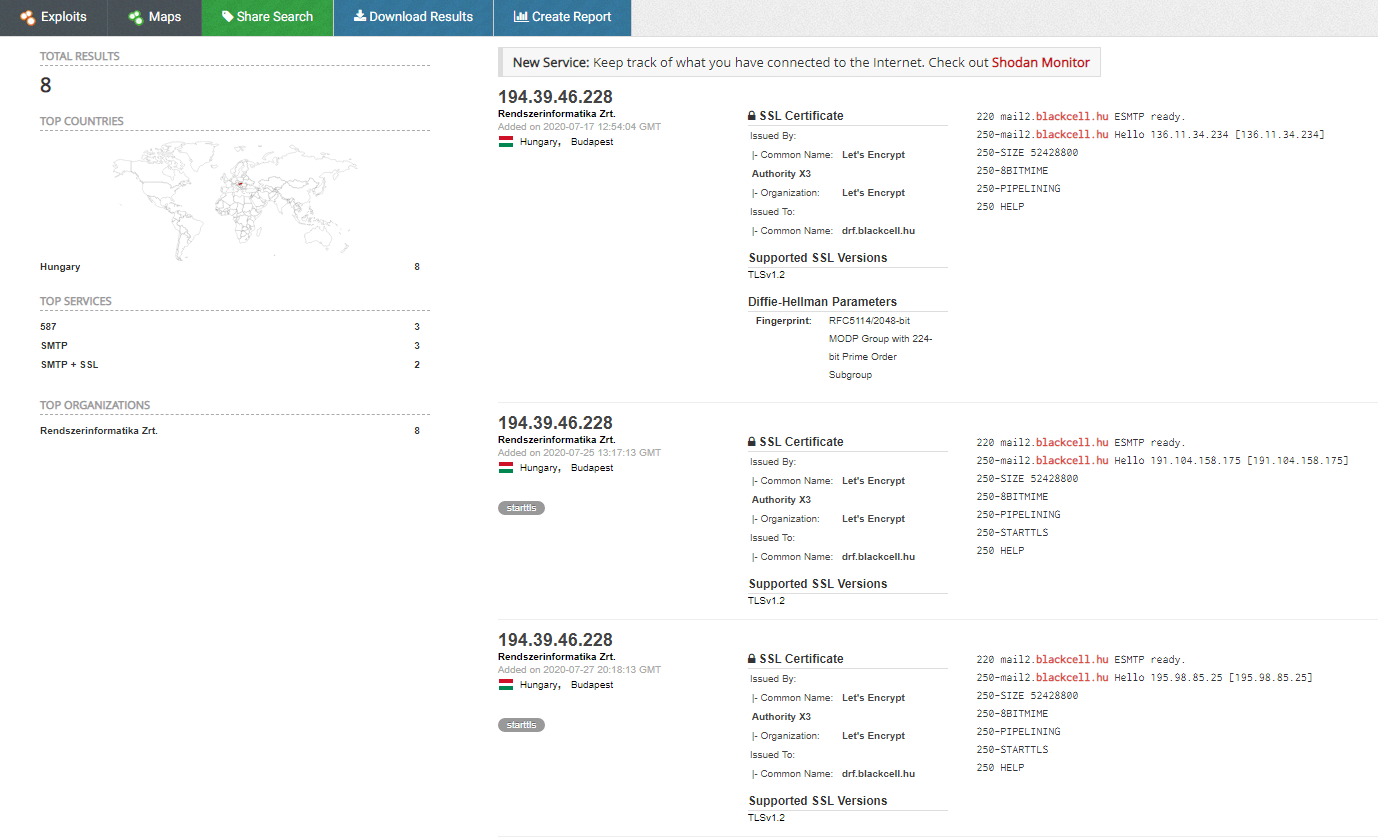 [/vc_column_text][vc_empty_space][vc_column_text]Here the results consist of several areas, in the left bar you can see more aggregated data:
- Total Results
- Top Countries
- Top services (Ports)
- Top organizations (ISPs)
Then in the main section we get the complete list of the result which includes the following:
- IP address
- ISP
- When the entry was added to the database
- The country in which it is located
- And the banner itself
After performing the search, you can export the results in various formats using the top menu (Download Results – only available when logged in). We have the opportunity to register for free. Here, for searches where the result consists of more than 200 devices, we won’t see results for 201 or later. You can also choose a premium account for a one-time payment of $ 49, which includes enhanced access to the API and is no longer restricted to search.
You can then click on one of the IP addresses to learn more about the data for that device:[/vc_column_text][vc_empty_space][vc_column_text]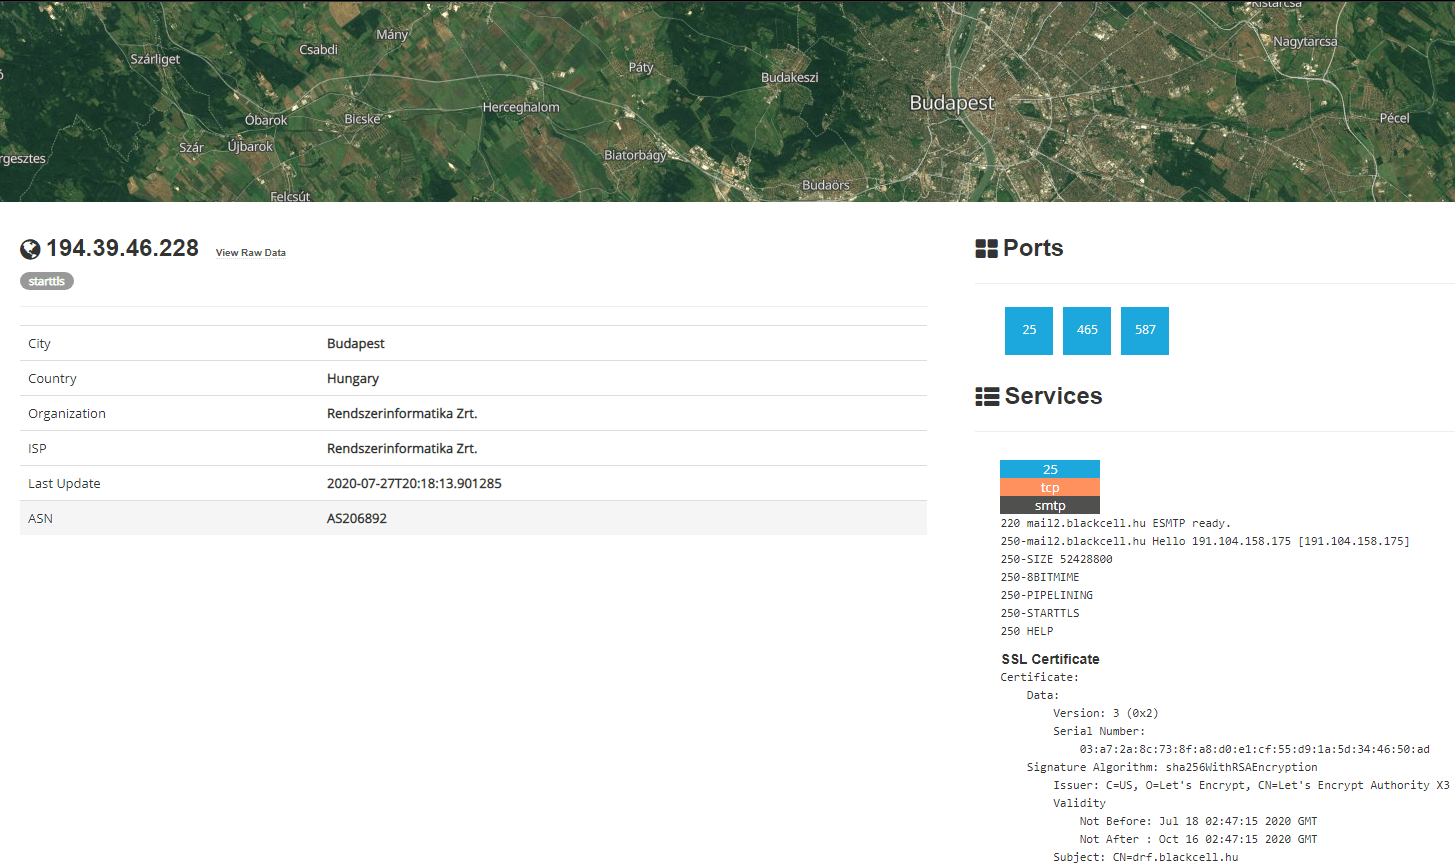 [/vc_column_text][vc_empty_space][vc_column_text]
The low privileged user could then add a new secret to the service principal, then login to Azure PowerShell as that service principal, who has Global Administrator rights.
The next question we had, was how far could this be abused? So, as Global Administrator, we control Azure AD, but how can we control Azure resources?
Sean Metcalf published an article explaining that Global Administrators have the ability to click a button in the Azure portal to give themselves the ‘User Access Administrator’ role in Azure. This role allows you to add and remove users to resources, resource groups, and subscriptions, effectively meaning you can just add yourself as an Owner to anything Azure.
At a first glance, this toggle switched looked only available in the portal and since service principals cannot login to the portal, I thought I was out of luck. After digging through some Microsoft documentation, there’s an API call that can make that change. After making this a function in PowerZure (Set-AzureElevatedPrivileges), I logged into Azure PowerShell as the service principal and executed the function which gave an odd result.
[/vc_column_text][vc_empty_space][vc_column_text]Here, the URL on the device page changes from the search structure to: https://www.shodan.io/host/194.39.46.228
The device information is on the left and the list of ports is in the upper right corner. You will then see the data and banners for each port.
Use filter options
As with all search engines, at Shodan we have the opportunity to further specialize our searches. The following search filters can be used:
- city: search for devices in a specific city
- country: search for devices in a specific country
- geo: search by coordinates
- hostname: search by hostname
- net: IP or /x CIDR based search
- os: search by operating system
- port: search by certain open ports
- before/after: search for results within a specified time
Example searches
In some cases, quotation marks may be omitted, but are often required. Therefore, it is recommended that we always use them.
Find the WordPress servers in Budapest:
- wordpress city:“Budapest”
Find Windows servers in Hungary:
- windows server country:“HU”
Find GWS (Google Web Server) servers:
- “Server: gws” hostname:“google”
Locate Cisco devices on a specific subnet:
- cisco net:“ 194.39.46.228/13”
So to get started, there is some basic search term that can then be further narrowed down with additional filters.
We also have the option to combine filters in the form of a simple listing. You can also do this by clicking on one of the summaries in the left sidebar of a particular result, so that it can be used as a filter. So, if we want to look for Nginx servers in Budapest that run on port 8080 and that also run Tomcat, the search will be as follows:
- Apache city:“Budapest” port:“8080” product:“Apache Tomcat”
IBM QRadar integration
We also have the opportunity to integrate Sodan into IBM’s QRadar. This allows the user to gather additional information by right-clicking on any IP address displayed on the QRadar user interface.[/vc_column_text][vc_empty_space][vc_column_text]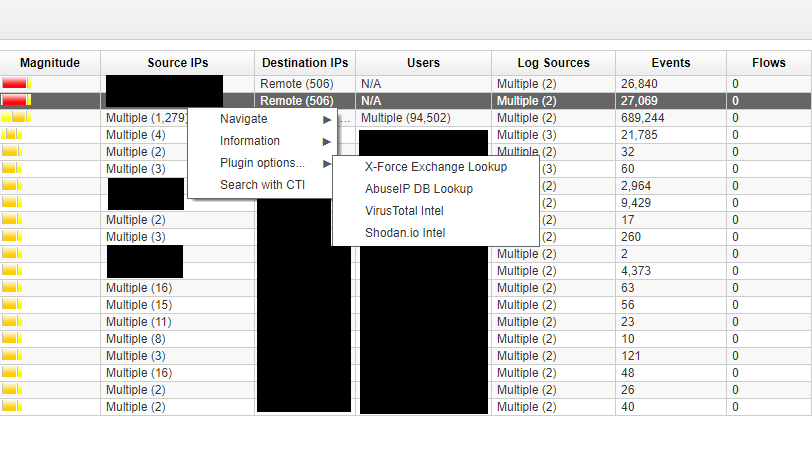 [/vc_column_text][vc_empty_space][vc_column_text]
Integration requires root access on the QRadar SSH port. If we have, we need to look for the ip_context_menu.xml file located at /opt/qradar/conf/ip_context_menu.xml. Find the
<menuEntry name=”X-Force Exchange Lookup” url=”https://exchange.xforce.ibmcloud.com/#/ip/%IP%” />
part, then add the
<menuEntry name=”Shodan.io Intel” url=”https://www.shodan.io/host/%IP%” />
line and then save the file. After that, the QRadar UI must be restarted with the “systemctl restart tomcat” command. This will applies the changes and allow you to access them as shown in the image above.
[/vc_column_text][vc_separator style=”shadow”][vc_column_text]Source: https://exchange.xforce.ibmcloud.com
https://community.ibm.com
[/vc_column_text][/vc_column][vc_column width=”1/3″][vc_wp_text][xyz-ips snippet=”metadatatime”]
[/vc_wp_text][/vc_column][/vc_row]